ADHESIVES
We are often asked about the ‘correct’ adhesives to use when assembling our items. Although we do not directly advocate or recommend specific adhesive manufacturers or products, we can advise you of the products we use ourselves in our production:
IMPORTANT: WE ASK THAT CUSTOMERS STUDY AND ADHERE TO ADHESIVE MANUFACTURER(S) GUIDELINES AND SAFETY INFORMATION WHEN USING YOUR CHOICE OF ADHESIVE(S).
 Chassis Components to Chassis (left) Chassis Components to Chassis (left)
Humbrol’s ‘Liquid Poly’ has served us well for years! Any adhesive that will mildly ‘melt’ both of the contact surfaces would be best.
Glazing to Bodyshells (below, right)
Medium ‘grade’ cyanoacrylate adhesive is best for a speedy assembly. The drawbacks with this adhesive is that it is not the most flexible and that if you happened to have touched the glazing or bodyshell with un-gloved fingers, the fumes from the adhesive will collect on these areas and turn them white!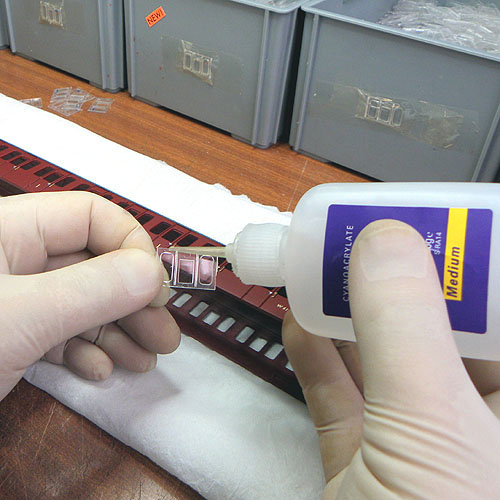 A 10 or 15 minute cure epoxy-resin is a very good adhesive to use as it is flexible and holds a strong bond. Do not try to use a corrosive type (such as Liquid Poly) as the glazing material will not react to this adhesive. A 10 or 15 minute cure epoxy-resin is a very good adhesive to use as it is flexible and holds a strong bond. Do not try to use a corrosive type (such as Liquid Poly) as the glazing material will not react to this adhesive.
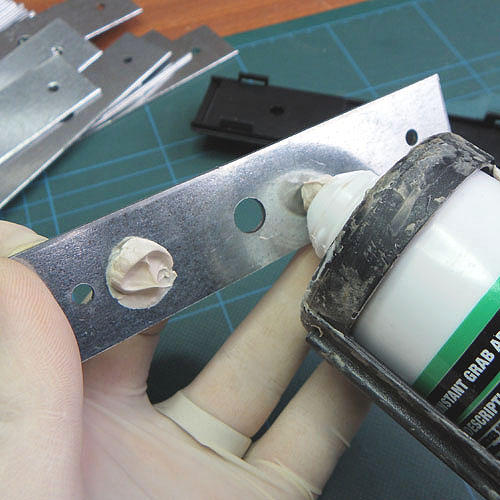
Weight to Chassis (below, left)
Wickes Solvent-Free Instant Grab Adhesive will provide a very strong bond. You do not really need to use an adhesive – a strip of tape over the length of the weight to the chassis should suffice as if you glue an interior onto the chassis it will keep the weight from falling out!
Coach Interior to Chassis
Thick ‘grade’ cyanoacrylate adhesive. The drawbacks with this adhesive is that it is not the most flexible and that if you happened to have touched the interior or chassis with un-gloved fingers, the fumes from the adhesive will collect on these areas and turn them white! If this does happen use a slightly moist cotton bud to clean away the residue after it has been left to dry. Here, again, an epoxy-resin is a very good adhesive to use. Do not try to use a corrosive type (such as Liquid Poly) as the interior material will not react to this adhesive.
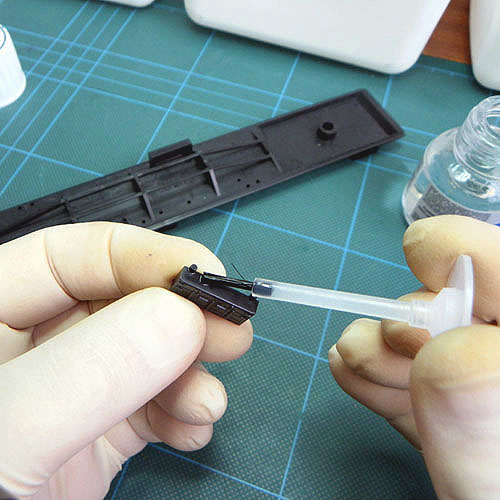
Bogies
Medium ‘grade’ cyanoacrylate adhesive. The drawbacks with this adhesive is that it is not the most flexible and that if you happened to have touched the bogie parts with un-gloved fingers, the fumes from the adhesive will collect on these areas and turn them white! If this does happen use a slightly moist cotton bud to clean away the residue after it has been left to dry. A 10 or 15 minute cure epoxy-resin is a very good adhesive to use as it is flexible and holds a strong bond. Do not try to use a corrosive type (such as Liquid Poly) as the bogie material will not react to this adhesive.
Any of our separate components
All of our Chassis Components listed on our website along with the MLV Cab components, Airpipes, Periscopes, Handrails and Rubbing Strips will react to and can be applied using mildly corrosive adhesives as well as resins.
|